Professional Tile Grouting Tips That Every Homeowner Needs To Know
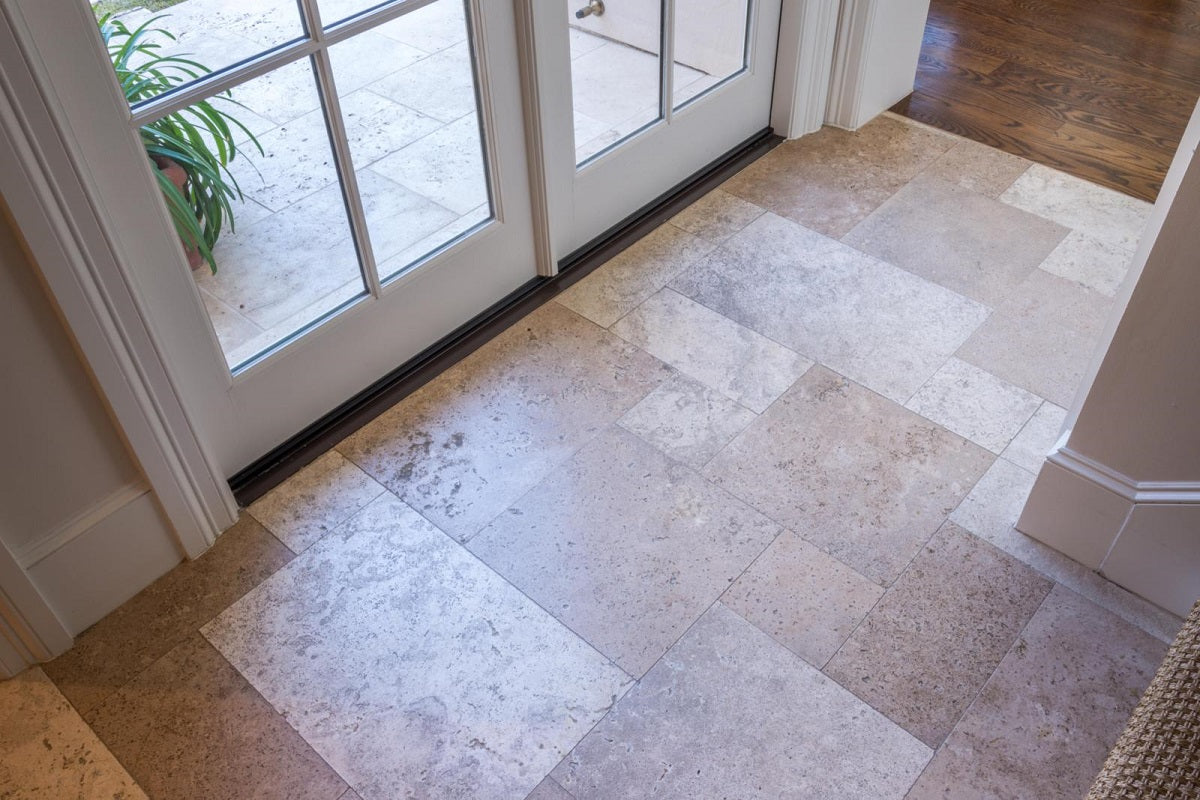

When you enter your bathroom, grout is probably not the first thing you notice. You might not have even known the name for that stuff in-between the tile or stone, but tile grout plays an essential role in the tile installation process. It also serves as a key element to unite your bathroom or kitchen’s design. Imagine bright white subway tiles delineated by sharp black grout. It’s a subtle but bold design statement.
Looking for tile grouting tips? We’ll cover the basics of grout to help you choose the right kind and then teach you how to grout tile for your next tile or stone project.
Let’s explore.
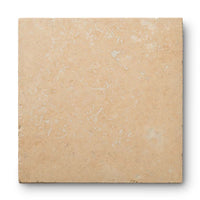
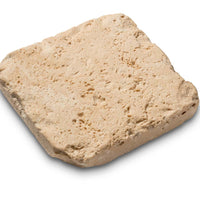
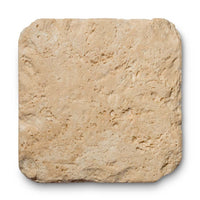
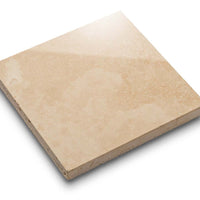
Grout is a filler material composed of cement, water, and sand, which is applied to fill gaps and seal surface openings in the spaces between tiles.1 The grout joint is the space between each tile or stone where you apply grout. There are multiple types of grout, and the type you choose depends on various factors, including:
Location – The location of the tile affects grout requirements.
Size – Measure the area where you will use grout. It’s best to buy more grout than you need before you start the project.
Tile – The tile material and size affect the type of grout you’ll choose.
For convenience, you can buy premixed grout powder that only needs water, but make sure not to over saturate the mixture because it can weaken the grout.
You’ll encounter four primary types of grout:
Unsanded Grout – Unsanded grout is best for thinner joints up to one-eighth of an inch, but only use unsanded grout with glass, polished marble, or metal tile because it can scratch ceramic tile. Unsanded grout is suitable to use indoors, outdoors, and on walls and floors.
Sanded Grout – Sanded grout is appropriate for thicker joints between one-eighth and five-eighths of an inch. It can be used indoors, outdoors, and on walls and floors.
Acrylic Grout – Acrylic grout is the go-to choice for damp areas such as showers and decks because it is mildew resistant and maintains color.
Epoxy Grout – Epoxy grout is suitable for countertops because of its hardness and because it doesn’t require a sealant; however, it is more difficult to use.
Once you’ve determined the type of grout your project needs, you’ll have to decide the color that will complement your stone or tile and complete your design vision. Without color additives, grout is naturally a dull gray.
Most homeowners choose neutral tones like cream, beige, brown, and gray, but there is a wide range of colors to choose from for your renovation. A recent alternative to pre-colored grout is tintable grout, which can create a custom color for your project.
As you select your grout color, consider these critical factors:
Instability – Certain colorants are more unstable. You might choose a bold forest green only to receive a blotchy mess with disappointing color variations.
Contrast – Beware of the contrast between the grout color and the tile or stone. When you apply grout, you smear it across the entire surface of the tile or stone to fill open joints before the mixture cures and hardens.
Shade – Lighter grout colors can show stains while darker grout fades faster. If applied incorrectly, dark grout can also create discoloration on white tile.
Porosity – A porous tile surface might also absorb the grout’s color additives.
At the end of the day, there is no perfect option. The option that’s right for you is the one that fits your design vision. If you need to contact an expert, a superb source for grout help is our good friends at Custom Building Products.
Once you’ve chosen your grout color and added it to your tile, seal it to decrease stains and inhibit moisture. Make sure you select the correct type of sealer and wait for it to cure completely before applying grout sealant.
If you’ve chosen your grout color and are ready to tackle your stone or tile project, we’ve got a rundown of the ten steps to follow for grout success. But first, here are the tools and materials you’ll need to use:
Tools – The tools you need include a bucket, caulk gun, grout float, margin towel, microfiber towel, putty knife, shop vacuum, tiling sponge, and utility knife.
Materials – You’ll also need caulk, grout, and masking tape.
Once you’ve acquired the appropriate tools and materials, you can commence the grouting process. To begin:
Clean the Grout Joints – Start by vacuuming the grout joints. Scrape the grout joints gently to clean them and then vacuum again.
Add Tape – Before you even mix the grout, apply masking tape to edges, trim or inset tiles, and wall paint to protect them.
Mix the Grout – Add some of the grout powder to the mixing bucket and add small quantities of water as you mix. Tip the bucket in your direction and roll it as you mix the grout. Use a margin trowel to mix the grout until all the powder dissolves, and the mixture is the consistency of peanut butter. Scrape the bucket’s bottom to mix all the powder, and don’t add too much water. When the grout is mixed thoroughly, let it rest for ten minutes and then remix it to loosen it up without adding more water.
Remove the Grout – Scrape some of the grout from the bucket using your groat float.
Apply the Grout – Apply the grout to the tile surface diagonally, pushing the grout into the tile joints. For vertical surfaces, apply the grout in an upwards motion.
Wipe Away Excess Grout – Wiping in an “S” shape, clean off most of the grout. You want to remove the grout from the tile while leaving it in the joints.
Moisten the Surface – After 20 to 30 minutes, use a special hydrophilic damp sponge to wipe the tile diagonally. Rinse out the sponge frequently and continue until the majority of the grout is removed from the tile.
Smooth the Grout Tile Joints – Gently press the sponge into the grout joints to even them out.
Clean the Haze – After about thirty minutes, buff away the haze on the tile with a cotton or microfiber towel.
Caulk Interior Corners – Your final step will be to add caulk to the inner corners of the tile.
If you have extra tile grout after you finish, store it in an airtight container so that you can easily touch up the grout joints in the future.3
Your prospective grout project isn’t complete without new stone or tile. Reach out to a Materials Marketing expert to discuss grout, stone, and tile selection. We provide custom solutions for your design needs
The natural beauty and unique nature of stone has inspired artists for centuries. Let our world-class selection of stone, glass, ceramic tile, and custom architectural stonework inspire your next design venture.
Sources:
Kitchen Cabinet Kings. What is Grout? https://kitchencabinetkings.com/glossary/grout/
Lowes. How to Grout Tile and Use Mortar. https://www.lowes.com/n/buying-guide/choosing-grout-and-mortar
Family HandyMan. How to Grout Tile: Grouting Tips and Techniques. https://www.familyhandyman.com/project/grouting-tips-and-techniques/
Please note: comments must be approved before they are published.
* indicates a required field
Our finishes are applied by hand, ensuring that each element of your order matches and blends together well. In some instances, you may notice a natural variation in the application of the finish. This is normal and should be expected with a handmade item.